The Ultimate Design & Build Guide for Educational Play Spaces
Posted by Steff Cameron on
Designing and building an educational play space is one of the most rewarding projects a school or community can undertake. But it’s also a process that requires planning, collaboration, and expert guidance.
A well-designed space doesn’t just appear — it’s the result of careful consultation, creative design, and quality installation.
At Castle & Cubby, we’ve developed a proven step-by-step approach to make this journey clear, supportive, and enjoyable for every stakeholder. Here’s what you can expect when you partner with us.
Step 1: Consultation and Vision
Every project begins with understanding your vision. Some schools arrive with a clear plan, while others are looking for guidance and inspiration.
We’ll start by reviewing your site. Depending on your location, this may involve an in-person visit or a virtual assessment using Google satellite maps. From there, we’ll help you decide which area will work best.
When assessing your site, we consider:
Visibility: Can teachers see the play space from classrooms or yard duty areas?
Proximity: Is it close enough to classrooms to encourage daily use?
Ground preparation: Will the site need levelling, drainage, or resurfacing?
Suitability: Is this area right for the type of play village you want?
If you need more support, our CAD design service can help. For a one off payment of $500, our product designer can create measured drawings and up to two layout options. This fee is credited back if you move forward.
💡 Tip: Unsure which area to use? A CAD design is a low-cost way to explore options and avoid costly mistakes.
Step 2: Design Principles That Guide Every Project
Once the site is chosen, the next stage is shaping the design. This isn’t just about what looks nice — it’s about creating a space that is safe, inspiring, and inclusive.
Here’s what that means in practice:
Safety: Every design complies with PlaySafe Standards and Australian safety regulations. We factor in fall zones, soft surfaces, non-toxic finishes, and appropriate heights for different age groups.
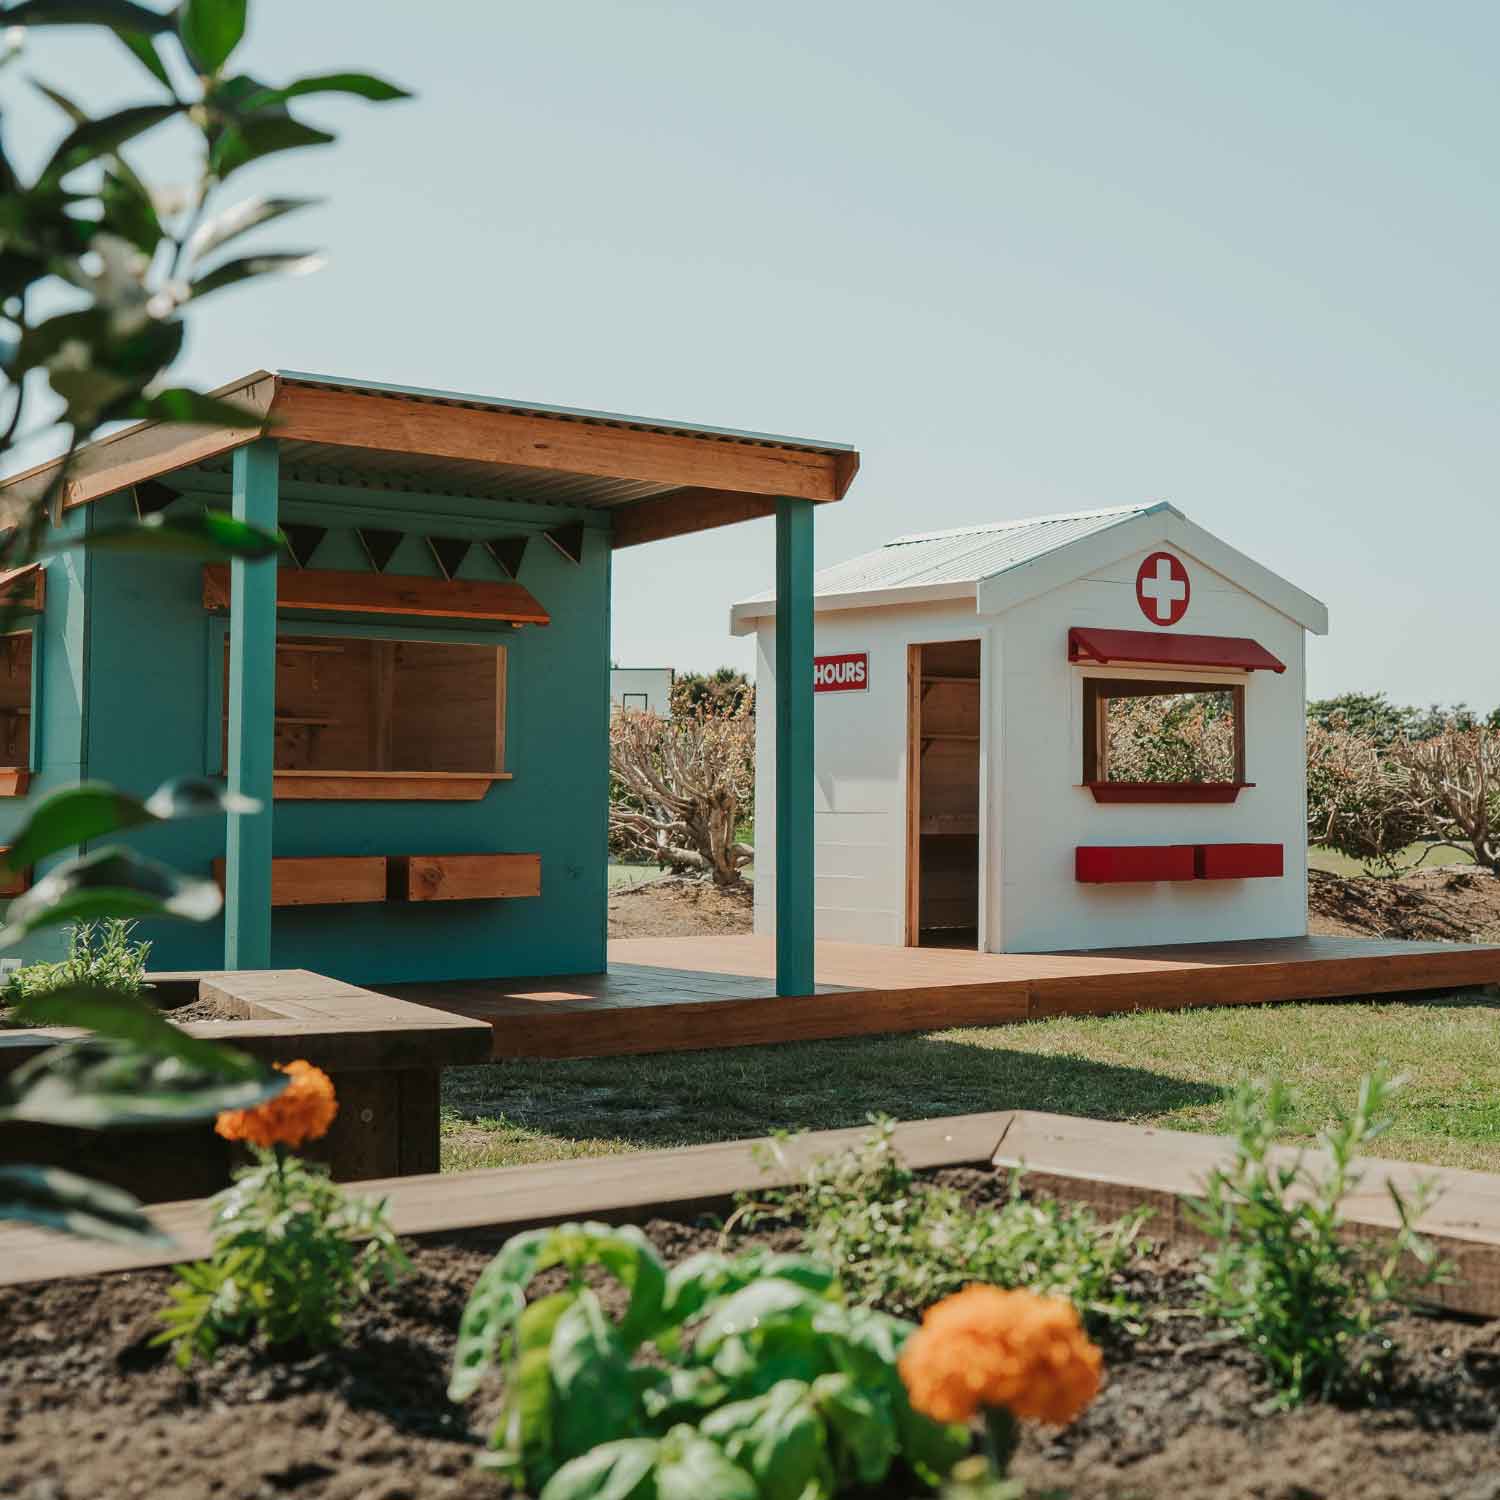
Inspiration: Great play spaces spark imagination. A cubby might transform into a shop, a pirate ship, or a café. A stage might encourage storytelling, role-play, or performances. The design is always about giving children open-ended ways to play and learn.
Inclusivity: Spaces are planned so that all children can join in. That could mean wheelchair-accessible pathways, sensory features, or quiet play areas alongside active zones.
💡 Tip: Schools often focus heavily on aesthetics (colours, shapes, etc.) but forget inclusivity. The most successful spaces balance fun design with accessibility for all.
Once approvals are in place, your play space moves into production. This is when everything starts coming to life.
Here’s how it works:
Deposit: A 50% deposit secures your place in the production schedule.
Production: Depending on size, production can take up to 12 weeks. During this time, materials are sourced, and elements are prepared in our workshop.
Scheduling installation: We work with you to find the best time — whether that’s during school holidays to avoid disruption, or on weekdays if that’s easier.
On-site build: Most villages are installed within a single day. Larger projects or those requiring significant ground works may take two to three days.
What schools often love is how little disruption installation actually causes. The space is transformed quickly, and students return to an exciting new play area almost overnight.
💡 Tip: Clear the site in advance (remove equipment, prep the ground if needed) to ensure installation runs smoothly and on time.
Step 5: Handover and Long-Term Support
Your journey doesn’t end on installation day. We make sure schools feel supported for the long term.
Here’s what to expect:
Maintenance guidance: Instructions for care and upkeep — from checking fixings to repainting.
Material documentation: Safety and compliance information for your records.
Future growth: Many schools start small and expand over time. You might begin with one cubby, then add a sandpit, stage, or full village later. Our modular designs make this easy.
💡 Tip: Think of your play space as a journey, not a one-off purchase. Planning for staged growth keeps your community engaged and spreads costs over time.
A Clear Path to Play
Creating an educational play space should feel exciting, not overwhelming. With Castle & Cubby’s step-by-step process, you’ll know exactly what to expect at every stage — from the first consultation through to installation and beyond.
When schools partner with us, they don’t just get a play space — they get peace of mind, professional guidance, and a project that inspires children for years to come.